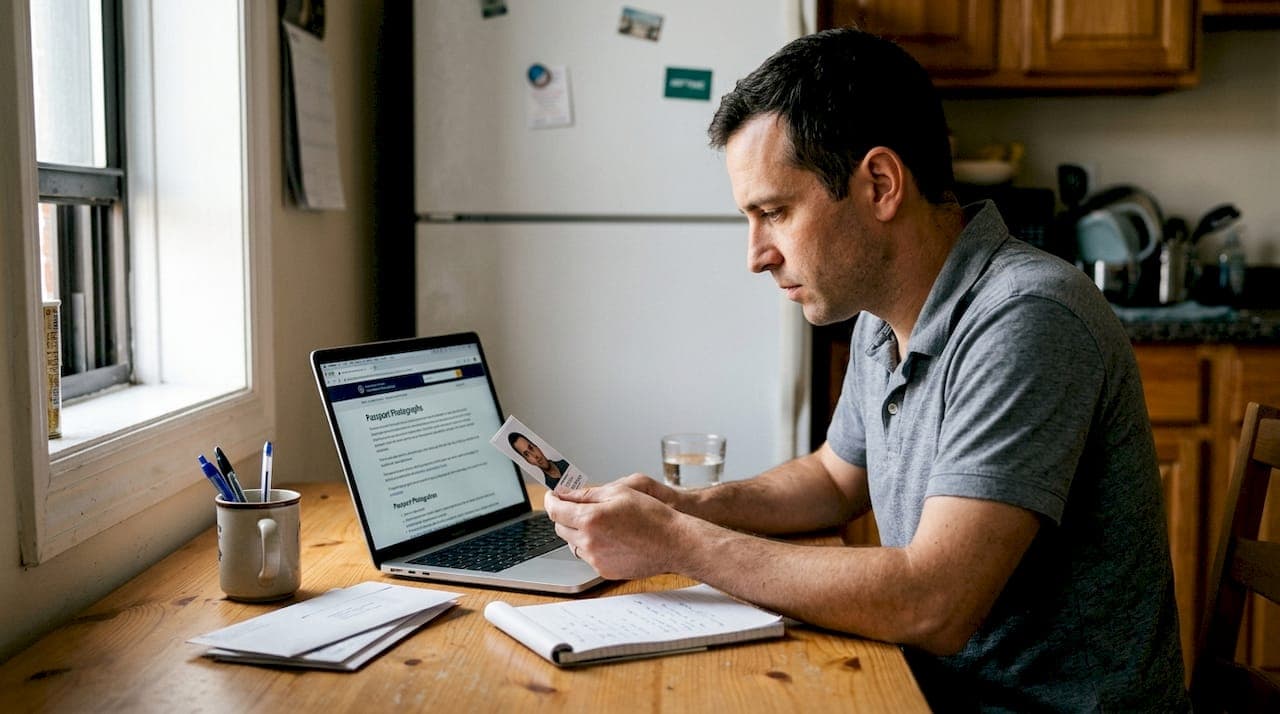
Passport photo rejections happen far more often than most people expect. Many Indian passport and OCI applicants assume snapping a quick selfie is enough, only to find their application stalled weeks later over a shadow, a slightly off-center face, or the wrong background shade. These aren't rare edge cases. Avoidable mistakes account for a significant share of all passport photo rejections every year. The good news is that every one of these errors is preventable. This guide walks you through the most common mistakes, the exact specs you need to meet, and a simple process for getting it right the first time.
Table of Contents
- Why passport photo compliance is so strict
- The most common passport photo mistakes (and how to spot them)
- Technical specifications for compliant Indian passport and OCI photos
- How to take a perfect passport photo at home
- The overlooked impact of small mistakes (and why most applicants don't notice them)
- Make passport photo mistakes a thing of the past with PhotoPass
- Frequently asked questions
Key Takeaways
| Point | Details |
|---|---|
| Check photo compliance | Every passport and OCI application demands strict adherence to specific photo standards to avoid delays. |
| Spot common errors early | Background color, shadows, and incorrect size are leading causes of rejection. |
| Use digital tools for review | Smartphone photo apps and online services help ensure your photo meets all official criteria. |
| Follow submission specs | Double-check technical and biometric requirements before submitting any digital photo. |
Why passport photo compliance is so strict
Before we reveal the specific mistakes, it's important to understand why these rules are enforced so rigorously.
Your passport photo isn't just a picture. It's a biometric data point used by border control systems, facial recognition software, and identity verification databases across the world. Passport authorities worldwide enforce strict photo requirements to ensure identity verification and fraud prevention. Even a small deviation in head angle or lighting can interfere with automated face-matching systems.
For Indian passport and OCI applicants specifically, the stakes are high. A rejected photo means resubmitting your entire application, paying fees again, and waiting weeks longer. If you're an NRI trying to renew your passport before a trip, that delay can seriously disrupt your plans. The passport renewal affidavit process alone adds time, so a photo rejection on top of that compounds the frustration.
Here's what non-compliance typically triggers:
- Application delays of two to six weeks while corrections are processed
- Additional fees for resubmission at passport offices or visa centers
- Missed travel windows when renewals don't complete before a booked trip
- Repeated rejections when applicants fix one issue but miss another
"A photo that looks perfectly fine to you may still fail automated screening if the background brightness is slightly off or your face isn't centered within the defined zone."
The common passport photo rejection reasons go beyond what most people check. Authorities can reject photos for subtle issues like uneven lighting across the face, slight shadows behind the head, or a neutral expression that still reads as a faint smile to the system. Understanding this is the first step toward avoiding the problem entirely. You can also review the detailed OCI card photo specs to see just how precise these standards are.
The most common passport photo mistakes (and how to spot them)
With compliance expectations clear, let's break down the most frequent errors and how you can prevent them.
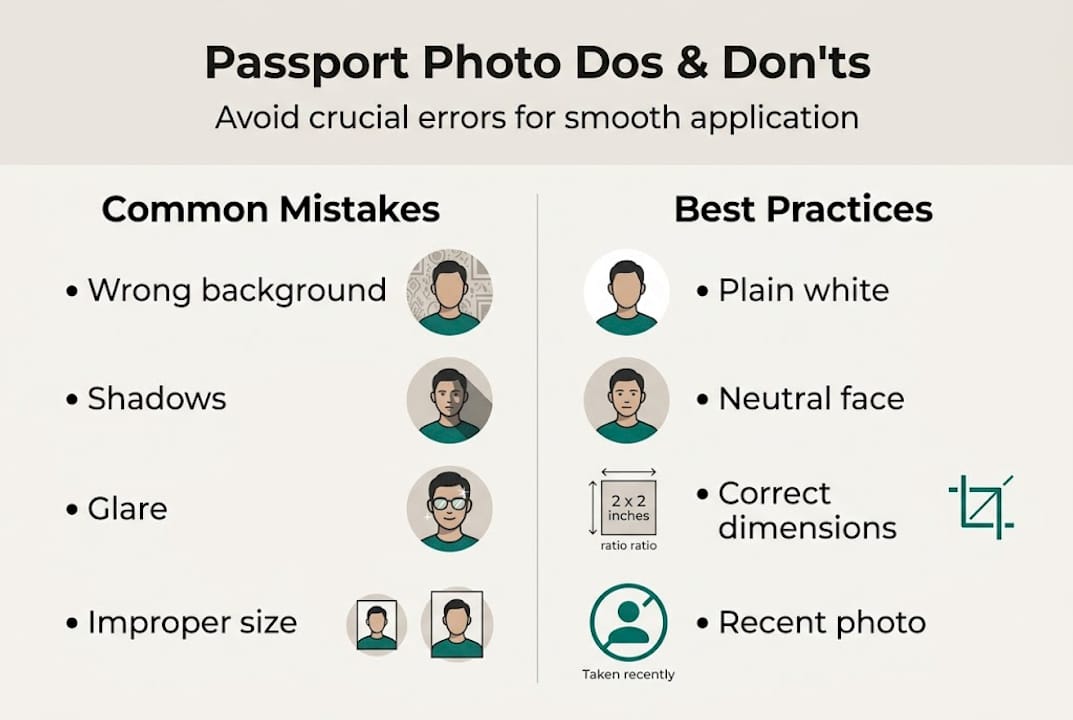
Incorrect background color, improper head size, shadows, glare, and facial expression are among the leading reasons for Indian passport photo rejection. Most of these mistakes are invisible to the untrained eye until the rejection notice arrives.
Here's a quick breakdown of the most common errors:
| Mistake | Typical result | How to fix it |
|---|---|---|
| Off-white or gray background | Immediate rejection | Use a plain white wall with no texture |
| Shadows on face or background | Flagged by automated review | Use two light sources, one on each side |
| Head tilt or rotation | Fails biometric check | Look straight at the camera, chin level |
| Glasses on face | Rejected for glare or reflection | Remove all eyewear before taking the photo |
| Photo older than 6 months | Rejected for recentness | Retake if your appearance has changed |
| Low resolution or compression | Blurry, fails quality check | Use at least 600 dpi or a modern smartphone |
| Incorrect photo dimensions | Cropped incorrectly by system | Use exact specs: 2x2 inches or 51x51 mm |
Beyond the table above, there are a few mistakes that catch people off guard. Wearing a white shirt against a white background can blur the boundary between your clothing and the background, causing the photo to fail. Jewelry, especially reflective earrings, can create glare that triggers a rejection. Even a slight smile, though natural, may not meet the neutral expression requirement.
Digital photo issues are also increasingly common. If you're uploading a photo that has been compressed by a messaging app or saved at low quality, the resolution may not meet the minimum standard. Check the photo upload rejection fixes guide if your Passport Seva upload keeps failing.
Pro Tip: Before submitting, zoom into your photo at 100% on your screen. Check that your eyes are fully visible, the background is evenly lit, and there are no shadows crossing your face or neck. This quick review catches most of the most common photo rejection reasons before they become a problem. Also confirm your background color requirements match the official standard for your application type.
Technical specifications for compliant Indian passport and OCI photos
Knowing the types of mistakes isn't enough. Here are the exact standards your passport or OCI photo must meet.
Specific measurements for Indian passport and OCI card photos include 2x2 inches or 51x51 mm, with a white background and neutral expression. For Passport Seva uploads, the format is unique: 630x810 pixels, which most generic photo tools don't support correctly.
Here's a full reference table:
| Spec | Requirement | Acceptable range |
|---|---|---|
| Photo size | 2x2 inches / 51x51 mm | No variation allowed |
| Passport Seva digital upload | 630x810 pixels | Exact match required |
| Head size | 1 to 1.375 inches from chin to top of head | 70-80% of frame height |
| Background | Plain white | No off-white, cream, or gray |
| Expression | Neutral, mouth closed | No smiling, frowning, or squinting |
| Eyes | Open, clearly visible | No glasses, no tinted lenses |
| Photo recentness | Within last 6 months | Must reflect current appearance |
| Resolution | Minimum 600 dpi for print | High resolution for digital uploads |
Use this checklist before you submit:
- Confirm photo dimensions match the exact requirement for your application type
- Check that your face takes up 70 to 80 percent of the frame
- Verify the background is pure white with no shadows or gradients
- Ensure both eyes are fully open and clearly visible
- Remove glasses, hats, and any head coverings (unless worn for religious reasons)
- Confirm the photo was taken within the last six months
- Check the file size and format match the upload portal's requirements
- Review the OCI card photo requirements if applying for an OCI card specifically
If you're preparing to shoot your own photo, the take passport photo at home guide covers every setup detail. And if you run into upload errors on Passport Seva, the photo upload error fixes page has step-by-step solutions.
How to take a perfect passport photo at home
Ready to put this into action? Here's a no-fuss workflow for a perfect result from home.
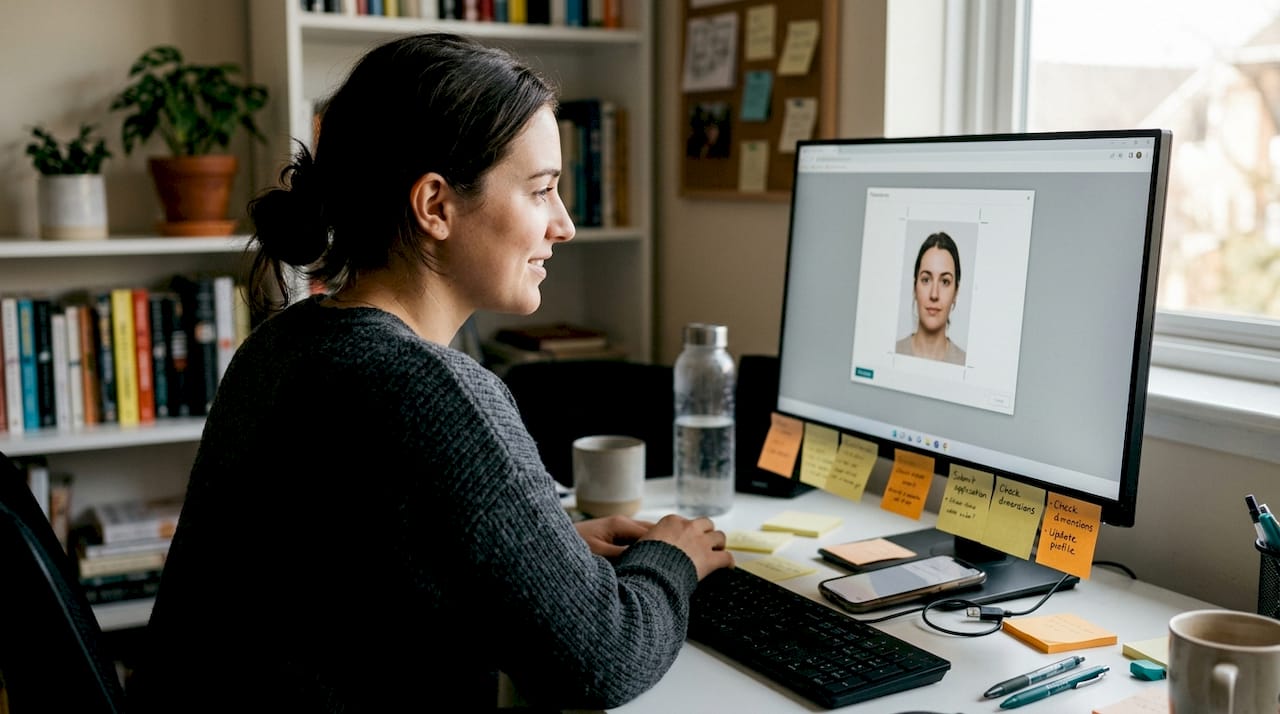
Most applicants can use a smartphone to capture compliant passport photos at home, provided they follow the technical and biometric rules. You don't need a professional camera or a studio setup.
Follow these steps:
- Find a plain white wall with no patterns, artwork, or shadows. A blank interior wall works well. Avoid standing too close to it, as this creates shadows behind your head.
- Set up your lighting. Natural light from a window works, but position yourself facing the light source, not with it behind you. If indoors, use two lamps placed at equal distances on either side of your face to eliminate shadows.
- Position your camera at eye level. Prop your phone on a stack of books or use a small tripod. Avoid holding the phone yourself, as this causes slight tilts and distortion.
- Frame the shot correctly. Your face should fill 70 to 80 percent of the frame. Keep your chin level, look directly into the lens, and maintain a neutral expression.
- Take multiple shots. Don't settle for the first one. Take at least five to ten photos and review them at full size before choosing the best one.
- Check for common issues. Look for shadows on your face or behind your head, any tilt in your posture, and whether your eyes are fully open and clearly visible.
Here's what to avoid:
- Flash photography, which creates harsh shadows and red-eye
- Busy or colorful backgrounds, even if they seem light enough
- Wearing white or very light clothing that blends into the background
- Filters or beauty modes on your phone camera
Pro Tip: Use the rear camera on your smartphone instead of the front-facing camera. Rear cameras have higher resolution and less distortion, which makes a real difference in meeting the technical quality standards. The passport photo at home guide has more detail on camera settings and lighting setups that work reliably.
Once you have a good photo, use a digital tool to crop it to the exact required dimensions and run a compliance check before uploading. The perfect photo how-to page walks through this final step.
The overlooked impact of small mistakes (and why most applicants don't notice them)
Every guide covers the rules. What's rarely said out loud is how often small, invisible errors are the ones that actually cause rejections.
Background brightness is a perfect example. A wall that looks white to your eye may photograph as a very light gray under certain lighting conditions. Automated review systems flag this instantly. The same goes for head tilt: a two-degree rotation that feels completely straight to you can still fail a biometric check. These aren't hypothetical edge cases. They're the everyday reality for applicants who do everything they think is right and still get rejected.
For NRIs and global applicants, this problem is amplified. You may be submitting from a country where local photo studios aren't familiar with Indian Passport Seva's unique 630x810 pixel format. Most standard photo booths produce the wrong dimensions entirely. Professional review or digital validation tools dramatically reduce photo rejection rates because they catch what the human eye misses.
The honest takeaway is this: manual self-checking is better than nothing, but it's not reliable enough on its own. A second set of eyes, whether from a knowledgeable friend or an automated compliance tool, is what separates a smooth application from a frustrating one. Browse the passport photo tips section for more guidance on getting this right.
Make passport photo mistakes a thing of the past with PhotoPass
You've now got the knowledge to avoid the most common pitfalls. The next step is making sure your photo actually passes before you submit it.
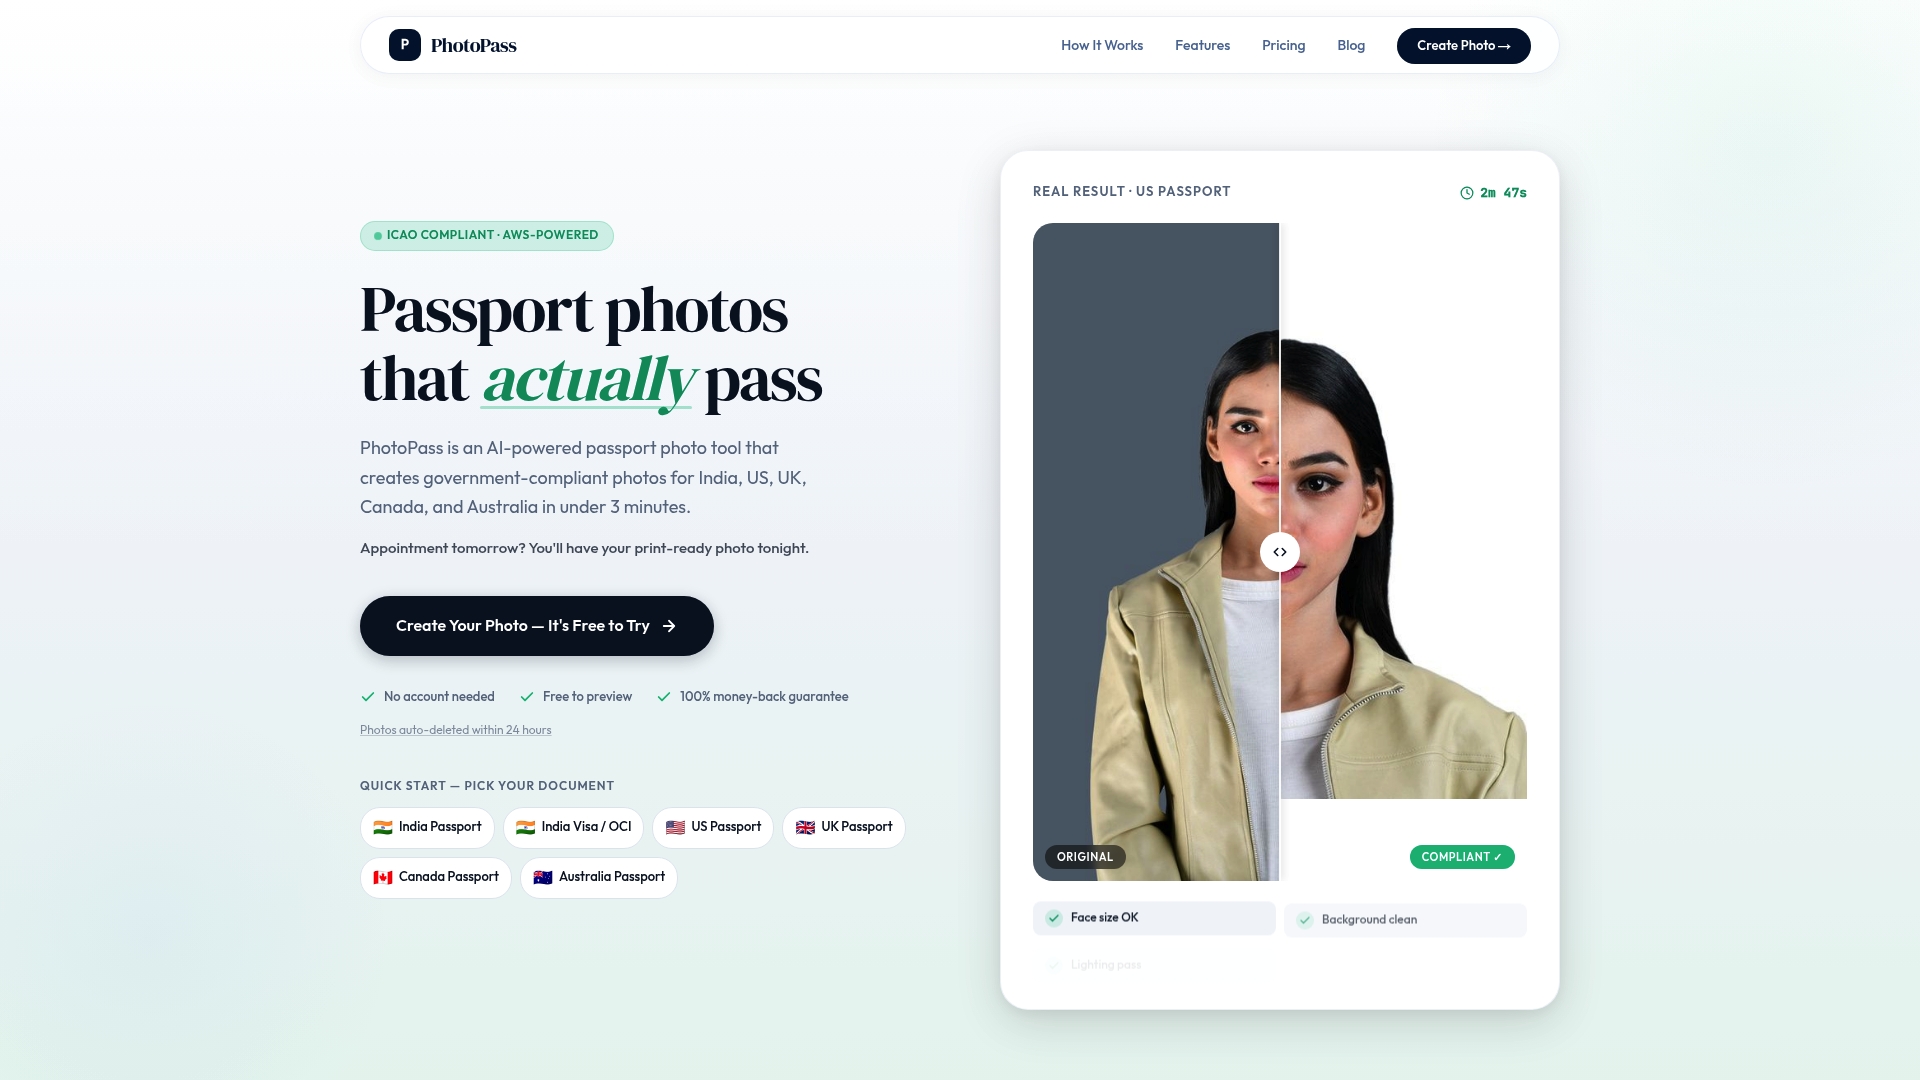
PhotoPass is an AI-powered passport photo maker that handles the hard part for you. Upload a selfie, and the tool automatically crops to the exact government specifications, removes the background, and runs a 10-point compliance check. It natively supports India's unique 630x810 pixel Passport Seva format, which most competitors get wrong. It also works for online India passport photos, OCI cards, US, UK, Canada, and Australia. At $2.99 with a 100% acceptance guarantee, it's the fastest way to get a compliant photo without the guesswork. Follow the DIY passport photo instructions to get started in under three minutes.
Frequently asked questions
What is the most common reason for passport photo rejection?
Improper background and lighting are the top causes for passport photo rejection, particularly for Indian applications where a pure white background is strictly required.
Can I wear glasses or earrings in my passport photo?
You should remove glasses and avoid reflective jewelry before taking your photo, as glasses and jewelry can cause glare and trigger an automatic rejection.
Are digital passport photos accepted for Indian passport or OCI applications?
Yes, digital photos are accepted, but high-quality digital photos must meet precise sizing, resolution, and format requirements to pass the compliance check.
How recent should a passport photo be for Indian applications?
Your photo must have been taken within the last six months. Photos must be recent to accurately reflect your current appearance for identity verification purposes.
Can I retake or digitally edit a rejected passport photo myself?
Retaking or carefully editing a rejected photo is allowed, as long as the final image meets all official requirements and hasn't been over-edited or filtered.
Recommended
- 10 Most Common Passport Photo Rejection Reasons (and How to Avoid Them) | PhotoPass
- Why Your Passport Seva Photo Upload Was Rejected (And How to Fix It in 30 Seconds) | PhotoPass
- Passport Seva Photo Upload Errors: What They Mean and How to Fix Them | PhotoPass
- Passport Photo Maker Online — India, US, UK, Canada, Australia | PhotoPass
- Comprehensive Guide on Obtaining a South African Passport in 2025 - Around Travel
- Understanding Minor Passport Applications in Ontario - The Online Notary